From Site Visit to Switch-On: What Actually Happens During a Rooftop Solar Installation
28 July 20264 min readBy Shanmukh
- Installation Process
- Net Metering
- Rooftop Solar
- Site Survey
A day-by-day look at what happens between signing a quote and switching on your new rooftop system — no surprises, no guesswork.
Most of the hesitation we hear about going solar isn’t about the money — it’s not knowing what actually happens between signing a quote and flipping the switch. So here’s the honest, unglamorous timeline of a standard rooftop installation, roughly as it plays out for most homes and small commercial sites.
Day 0: The Site Survey
Before any design work starts, one of our technicians visits the property to check roof orientation, shading from neighbouring buildings or trees at different times of day, the condition of the existing electrical panel, and structural load capacity. This is the step that determines your real system size — not the number you saw in an online calculator, but what your specific roof can actually support.
Designing Around Your Roof, Not a Template
Every roof gets its own layout drawing showing panel placement, wiring runs, and inverter location, sized against your last 6–12 months of electricity bills rather than a generic package. This is also when we finalise whether you’re looking at a 2 kW, 3 kW, or larger system, and price it accordingly.
Supply and Installation: A Typical Week
- Day 1–2: Panels, mounting structure, inverter, and cabling arrive on site and are checked against the design spec.
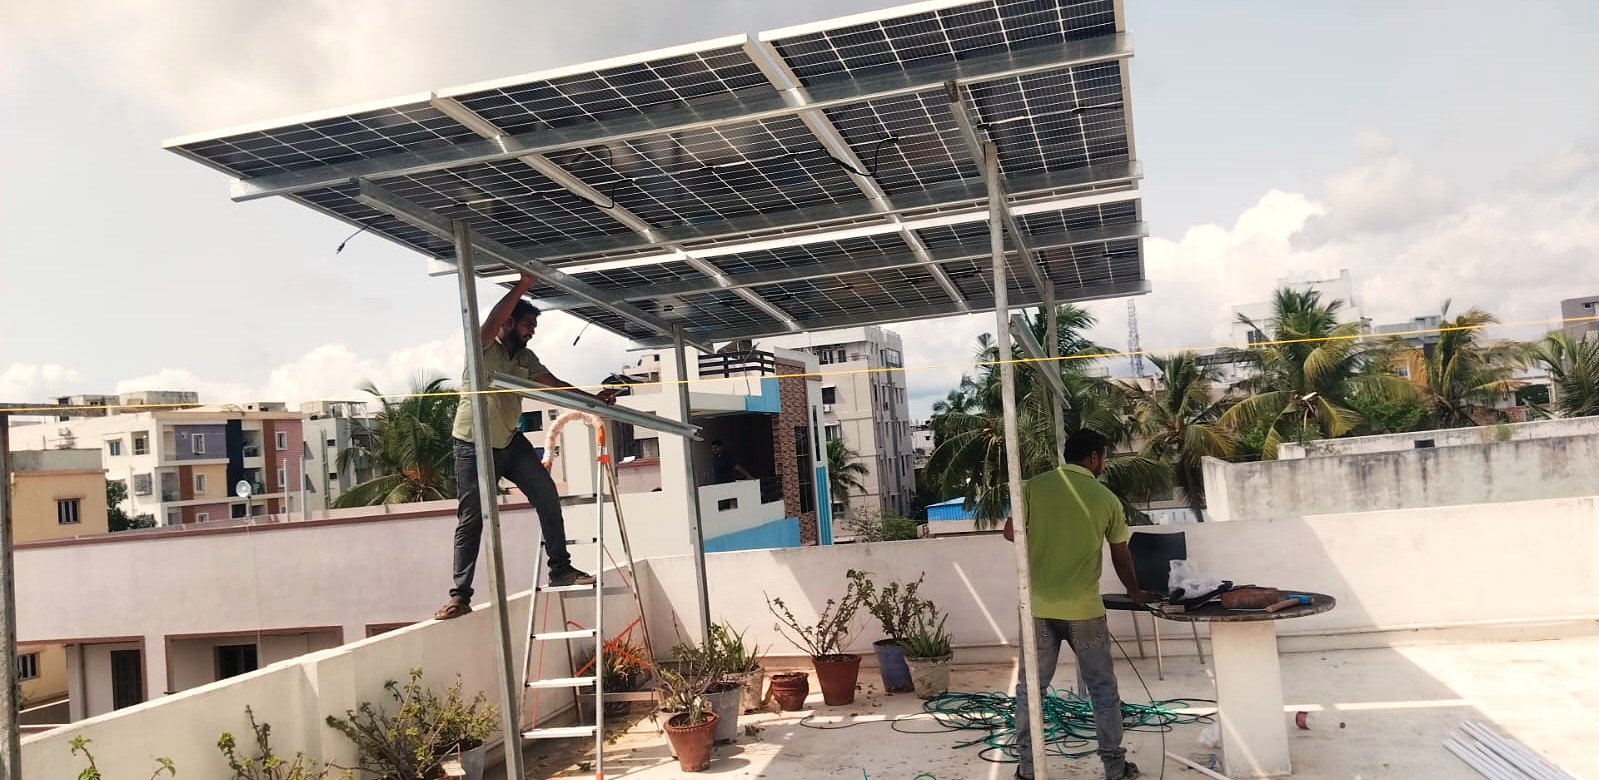
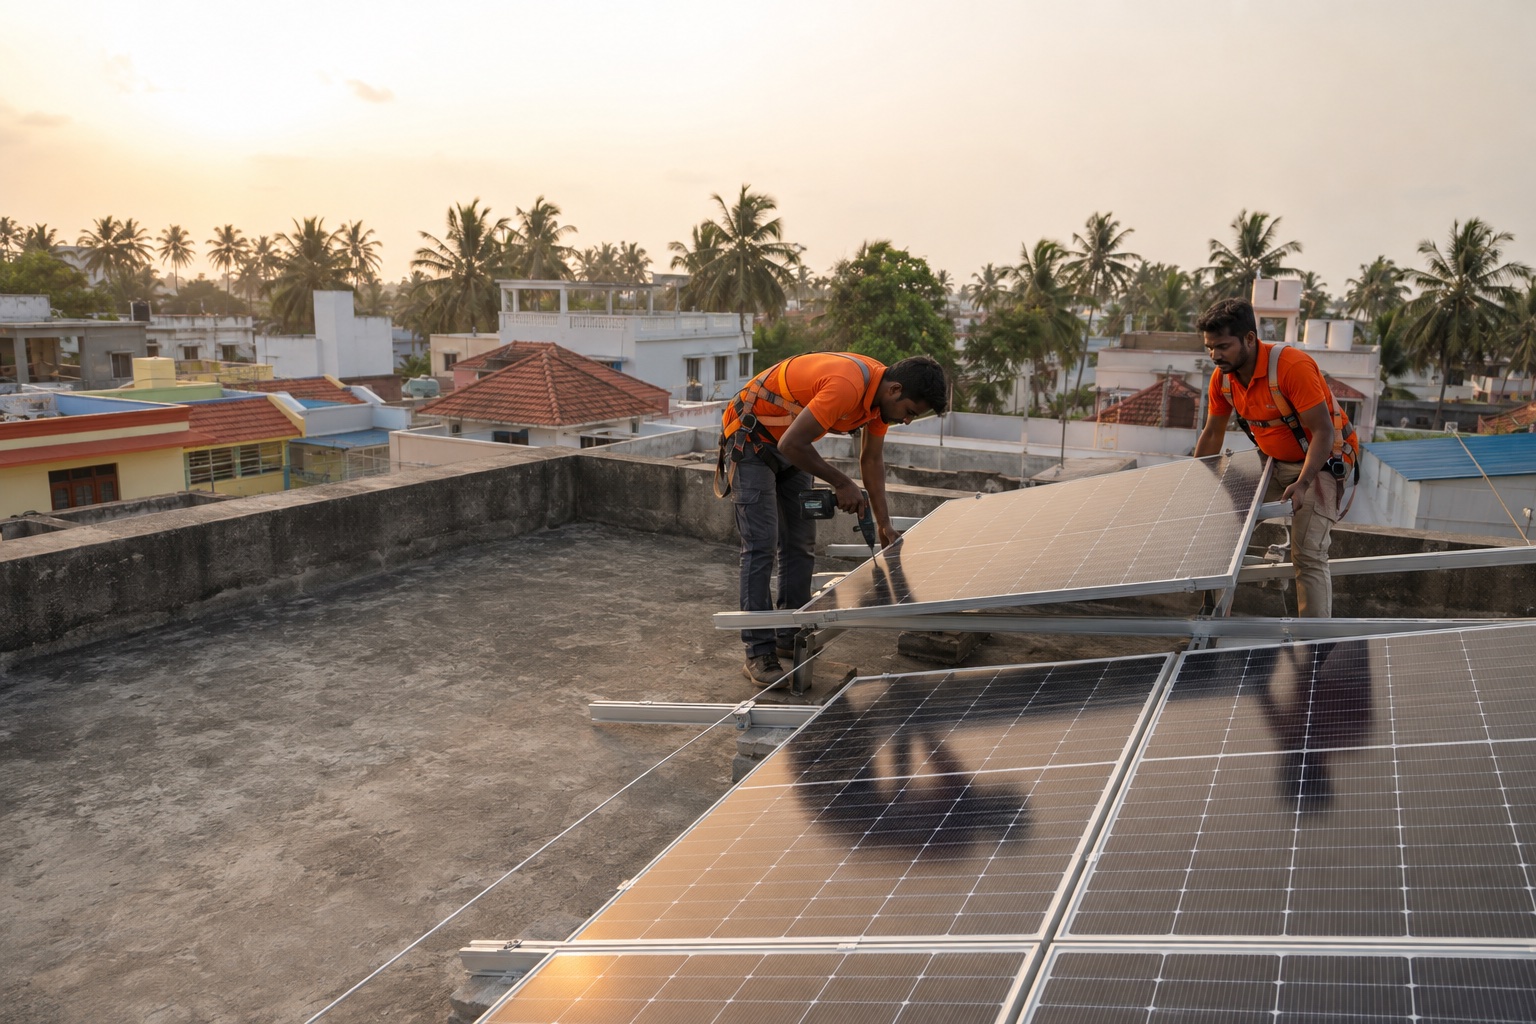
- Day 3–4: Mounting structure goes up first, followed by panel installation and wiring.
- Day 5: Inverter commissioning and a full electrical safety check — earthing, surge protection, and DC/AC wiring are all tested before anything is switched on.
Weather and roof complexity can push this out a day or two either way, but a straightforward residential rooftop rarely takes longer than a week from first panel to final test.
Net Metering and the DISCOM Handoff
Once installation is physically done, we submit the net-metering application to your DISCOM on your behalf, along with the documentation needed for the PM Surya Ghar subsidy. This is usually the longest single wait in the whole process — DISCOM inspection and meter-swap scheduling is out of our hands timing-wise, though we follow up on it so it doesn’t sit forgotten in a queue.
What Switch-On Day Actually Looks Like
Once the net meter is installed, we do a final walkthrough with you: showing you the inverter’s monitoring display, confirming the system is exporting correctly, and explaining what a normal day’s generation curve should look like versus what would signal a fault. From that point, the system is yours to run — and our maintenance and warranty coverage picks up from there.